Git Mastery for Junior Developers: A Practical Guide
-
 Larry Barker
 - 16 Sep, 2024

When junior developers join a team for the first time, they often face numerous challenges related to Git version control. While they may have learned how to code, the intricacies of committing, branching, and collaborating with team members on the same feature can be daunting. This guide aims to demystify these processes by walking through typical scenarios and tricky situations that developers may encounter.
Creating the Repository and Initial Commit
The journey begins with creating a repository. Let’s call it git-example and set it to private. By default, the repository is created with a main branch. Previously, the default branch was master, but it has been changed to main for various reasons. Both are essentially the same.
Initializing the Repository
- Create a Laravel Project:
laravel new Laravel cd Laravel - Initialize Git and Make the First Commit:
git init git add . git commit -m "Initial Laravel project" - Push to the Main Branch:
git branch -M main
git remote add origin <repository-url>
git push -u origin main
Setting Up the Develop Branch
Once the main branch is set up, the next step is to create a develop branch where the actual development work will take place.
- Create and Switch to Develop Branch:
git checkout -b develop git push -u origin develop - Clone the Repository and Checkout Develop Branch:
git clone <repository-url>
cd <repository-folder>
git fetch
git checkout develop
Working with Feature Branches
Feature branches allow multiple developers to work on different features simultaneously without interfering with each other’s work.
- Create a Feature Branch:
git checkout -b feature-branch-name - Install Dependencies and Make Changes:
composer require laravel/breeze npm install npm run dev - Commit Changes to Feature Branch:
git add .
git commit -m "Install Laravel Breeze"
git push -u origin feature-branch-name
Pull Requests and Code Reviews
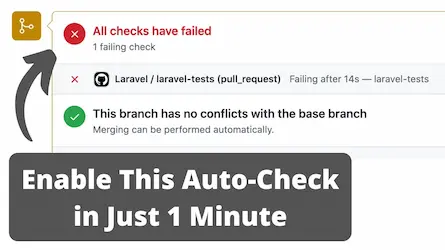
After pushing the feature branch, the next step is to create a pull request (PR) to merge the changes into the develop branch. Knowing how to preview Laravel pull request changes before merging can be very helpful.
- Create a Pull Request:
- Navigate to the repository on GitHub.
- Click on “Compare & pull request”.
- Ensure the base branch is
developand the compare branch is the feature branch. - Add a descriptive title and description for the PR.
- Code Review and Merge:
- Assign the PR to a senior team member or reviewer.
- The reviewer will check for any conflicts and ensure the code quality.
- Once approved, the reviewer will merge the PR into the
developbranch.
Developers should follow this workflow for every new feature to maintain a clean and organized codebase. Understanding how to preview Laravel pull request before merging can save a lot of time in catching potential issues early. In the next part of this series, additional scenarios and best practices for handling more complex situations will be discussed.
Conclusion
Mastering Git version control is an essential skill for junior developers. By creating repositories, setting up branches, and effectively managing pull requests, you can ensure a clean and organized workflow. Remember, the ability to preview changes before merging is pivotal in maintaining code quality. For a seamless experience, consider using Glimpse to automatically deploy your GitHub pull requests to preview environments with the help of Laravel Forge. This not only enhances your development process but also ensures that you catch potential issues early.
Stay tuned for the next part of this series, where we will dive deeper into advanced Git strategies and best practices.